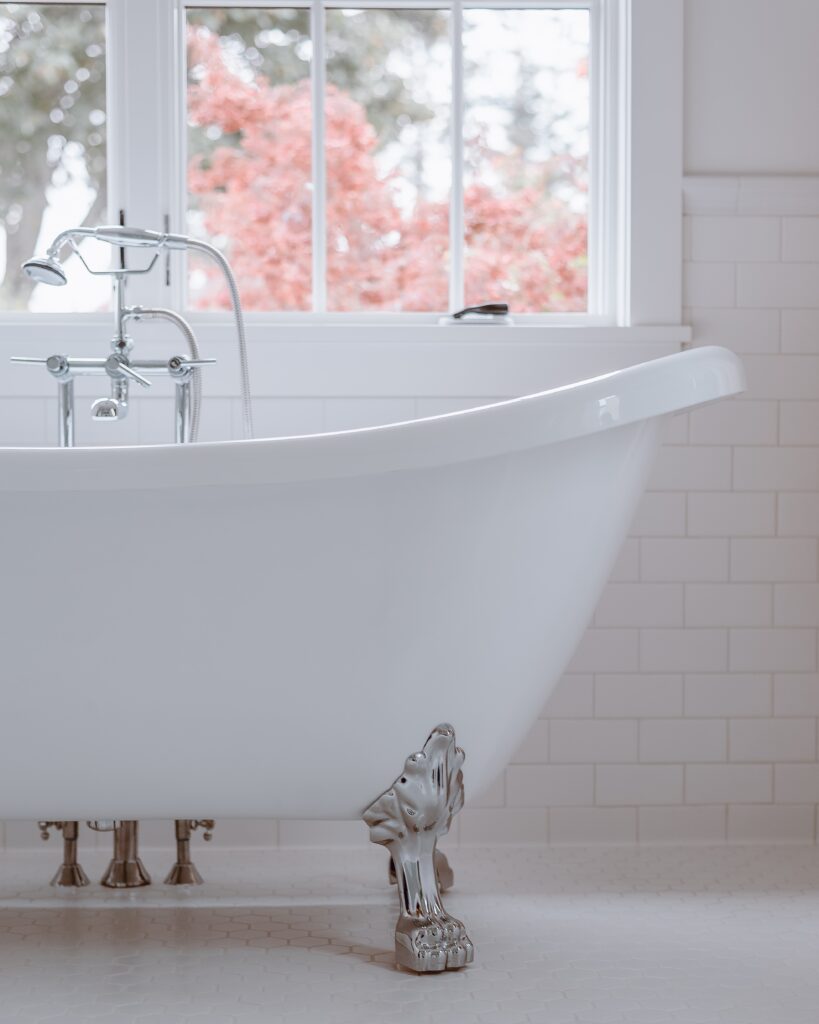
Knowing how to fit a new bathtub is a great DIY skill and something that’s in high demand among people who love renovating their homes. But how do you actually do it?
It turns out that the process is pretty straightforward. Here’s how a plumber would go about it.
- Remove The Old Tub
The first step is to remove the old bathtub. If you’re planning on selling the unit, you’ll need to be careful at this stage. Bathtubs can break when moving them around.
Also, be careful of all the plumbing attachments and fittings. Don’t damage these.
- Fix The Drain
The next step is to fix the drain according to the manufacturer’s specifications. Different brands have varying approaches to drain assembly, so you’ll need to follow the instructions that come with the new bath.
Pay particular attention to the seal. You need to ensure the drain is watertight. If it’s not, it’ll leak onto the floorboards below, and you’ll wind up with mold.
- Install The Overflow
Next, you’ll want to connect the overflow to the main drain. Again, check around the seals to ensure it’s watertight.
- Install The New Bathtub
Once the drains are in place and secured, you’re ready to install the new bathtub and put it in its dedicated space.
Before placing the bathtub, ensure the surrounding structures are strong enough to accommodate it. Onyx bathtubs may require steel floor reinforcement, even if you place them on the ground floor. Regular baths, however, should be fine and don’t require any additional structural work.
When placing the bathtub, do the basics, such as ensuring it is level and stable. Then connect the various parts of the bath to the drain, again, checking you line everything up.
- Connect To Water Supply Lines
Once you do that, you’ll want to connect the bath to the water supply lines. If you’re renovating an existing bathroom, these should already be in place. If you’re struggling to get everything to line up, use a bendable hose instead of rigid metal or plastic attachments. These hoses are regularly used by tradespeople.
- Test The System For Leaks
Once you connect everything up, the next step is to check the system for leaks. You want to make sure that everything works flawlessly. If there are leaks, they should be easy to identify and resolve.
- Seal The Edges
Depending on your bath’s design, the next step is to seal the edges. You want to make sure that the bath looks aesthetic and that water can’t splash out around the sides and down the walls.
To seal, use a high-quality caulk. Smooth caulking will create a neat seal that looks good.
- Fill With Water
The final step is to tile around the bath and fit a shroud, if applicable. Then, fill the bath and see if it accommodates the water. Keep filling and testing the overflow if necessary to check that the drainage system is working properly.
The last step is to do any final touches. This might include fitting a new shower head.
P.S. This post contains affiliate links.

